OS getting started
Power on MAPIO
You have followed the getting started hardware (HW getting started), you are now ready to use your MAPIO. Before power on your MAPIO:
Insert your Ethernet cable (optional)
Insert your SSD NVME disk (optional)
Insert the RF modules in dedicated sockets (optional)
Power ON MAPIO. About 20 seconds after power ON, the epaper display shall be refreshed and the LEDs shall be driven.
LEDS signification
There are three RGB Leds on MAPIO front panel:
LED1 (on the top) : SYSTEM LED :
Green: system is running
Orange: system is starting
Red: global failure
LED2 (on the middle) : USER LED :
are free to control it from your Home Assistant instance
LED3 (on the middle) : BATTERY LED :
Green (blinking): battery is charging
Green (fixed): battery is charged
Orange: system is on battery
Red: no battery or charger error
First setup
If you are connected using Ethernet. You can see your IP address on epaper main screen. You can now go to configuration section (see OS Configure).
If you are not connected with Ethernet, a wifi hotspot will be up. You can go the the epaper wifi and web server view to connect to the hotspot. The WIFI password is dynamic and is changed its time the WIFI Access Point is strated. There is two QR code on the epaper. First one is to connect to the WIFI AP, the second one is to open the web server on an internet explorer.
ePaper view
The epaper is used to display useful information about the gateway. To go from a view to another press the UP or DOWN button. UP goes from view N top view N-1, DOWN button goes to view N to N+1. The MID button is used for some interaction (for example enable or disable the web server when you are on the corresponding view).
Note
When you ask a new view, a wait message is printed in the rectangle at the bottom right. Due to epaper technology, the refresh takes about 2 seconds. You shall wait this refresh before pushing another button.
Here is the list of the views and their information.
View 1 : HOME view

It displays :
MAPIO logo
the current hour
IP address
MAPIO OS version
View 2 : SYSTEM view
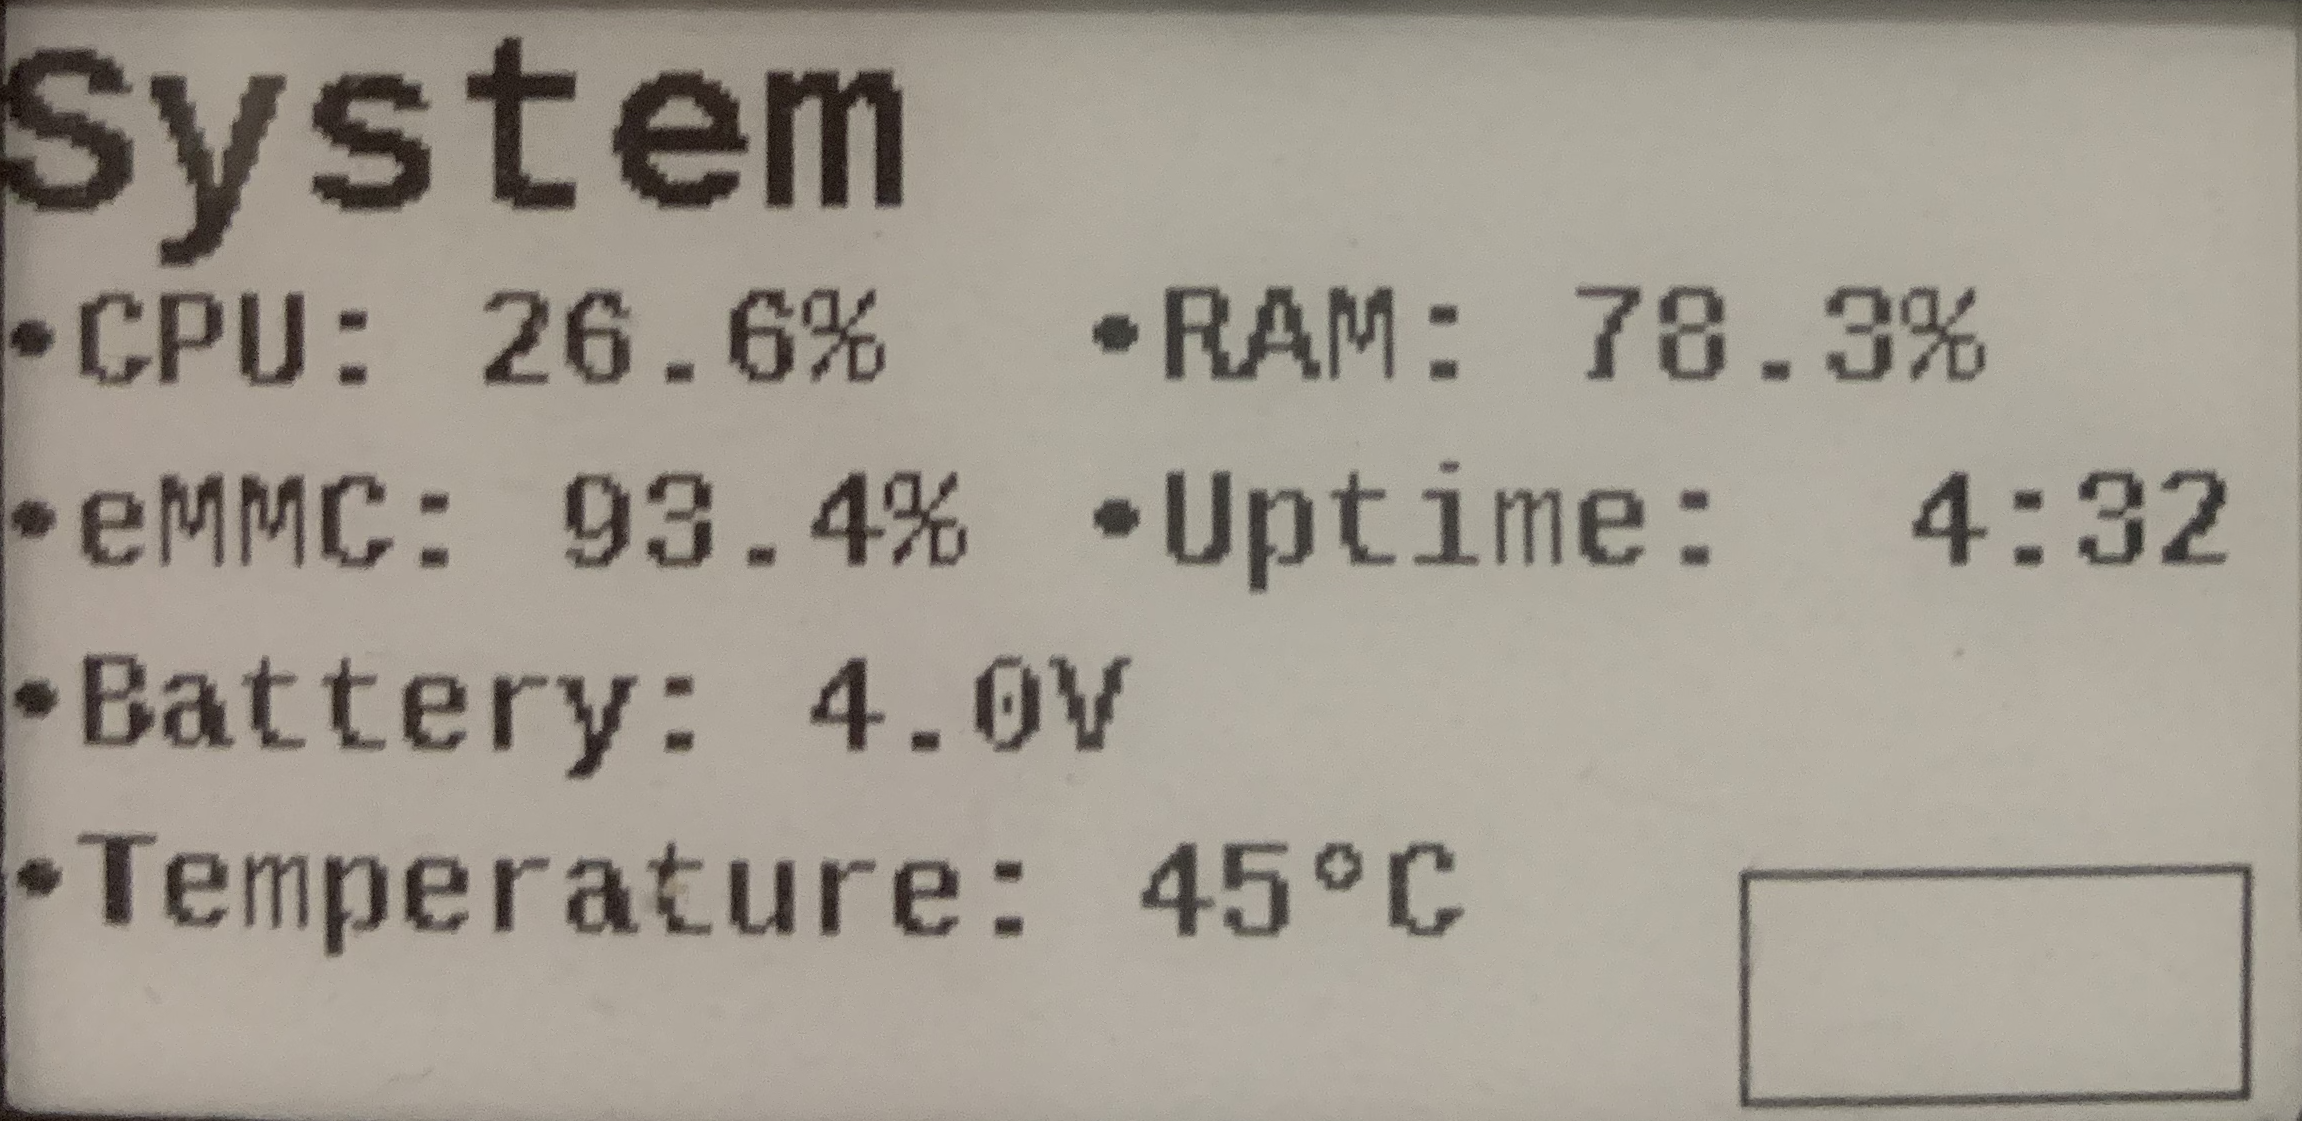
It displays :
CPU usage
System ROOTFS usage
Uptime
Battery voltage
MAPIO temperature
View 3 : WEB SERVER view
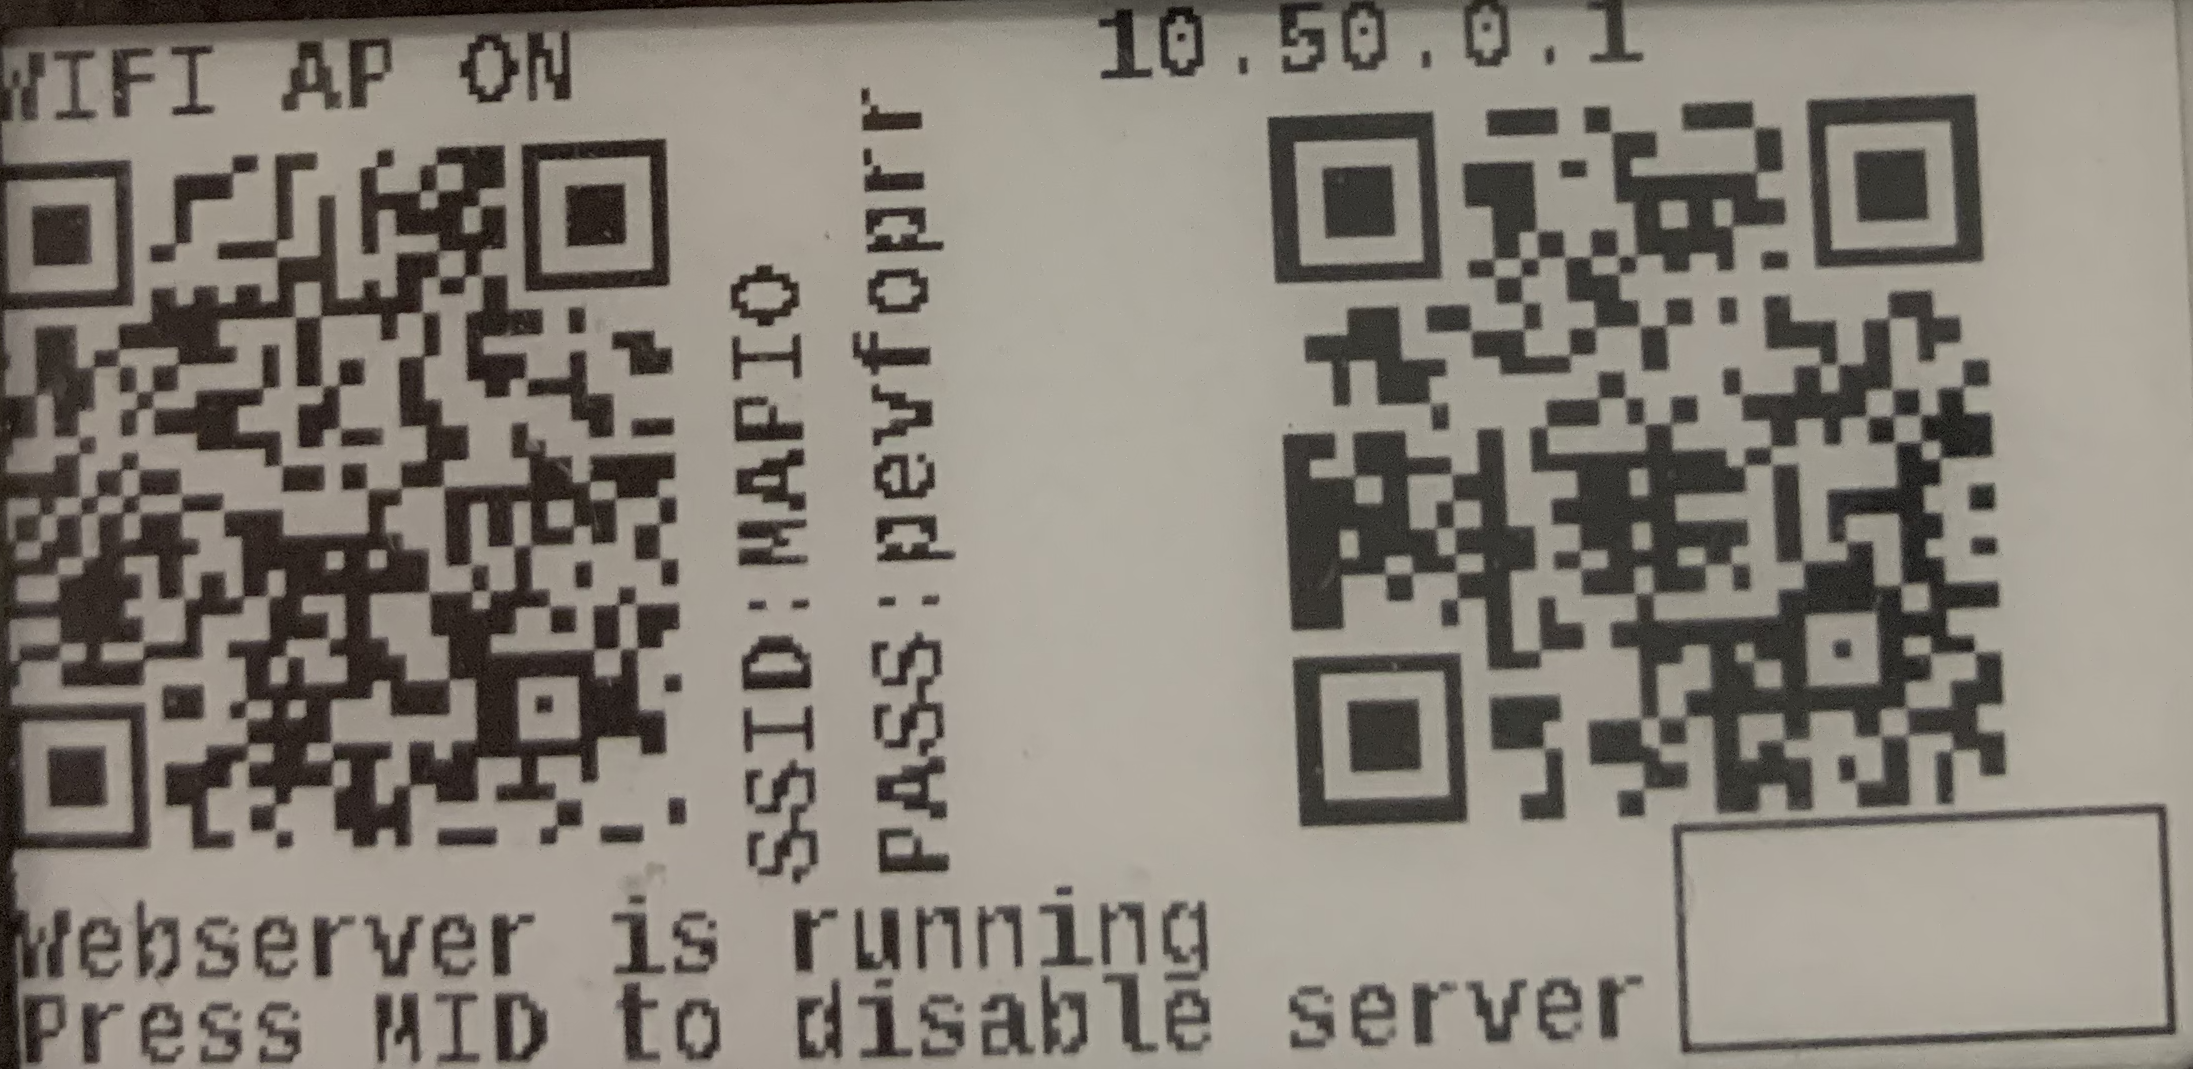
It displays :
WIFI AP information (SSID and dynamic password) and the associated QR Code
IP address to access to the web server and the associated QR Code
You can enable/disable the web server by pressing MID button
View 4 : STATUS view
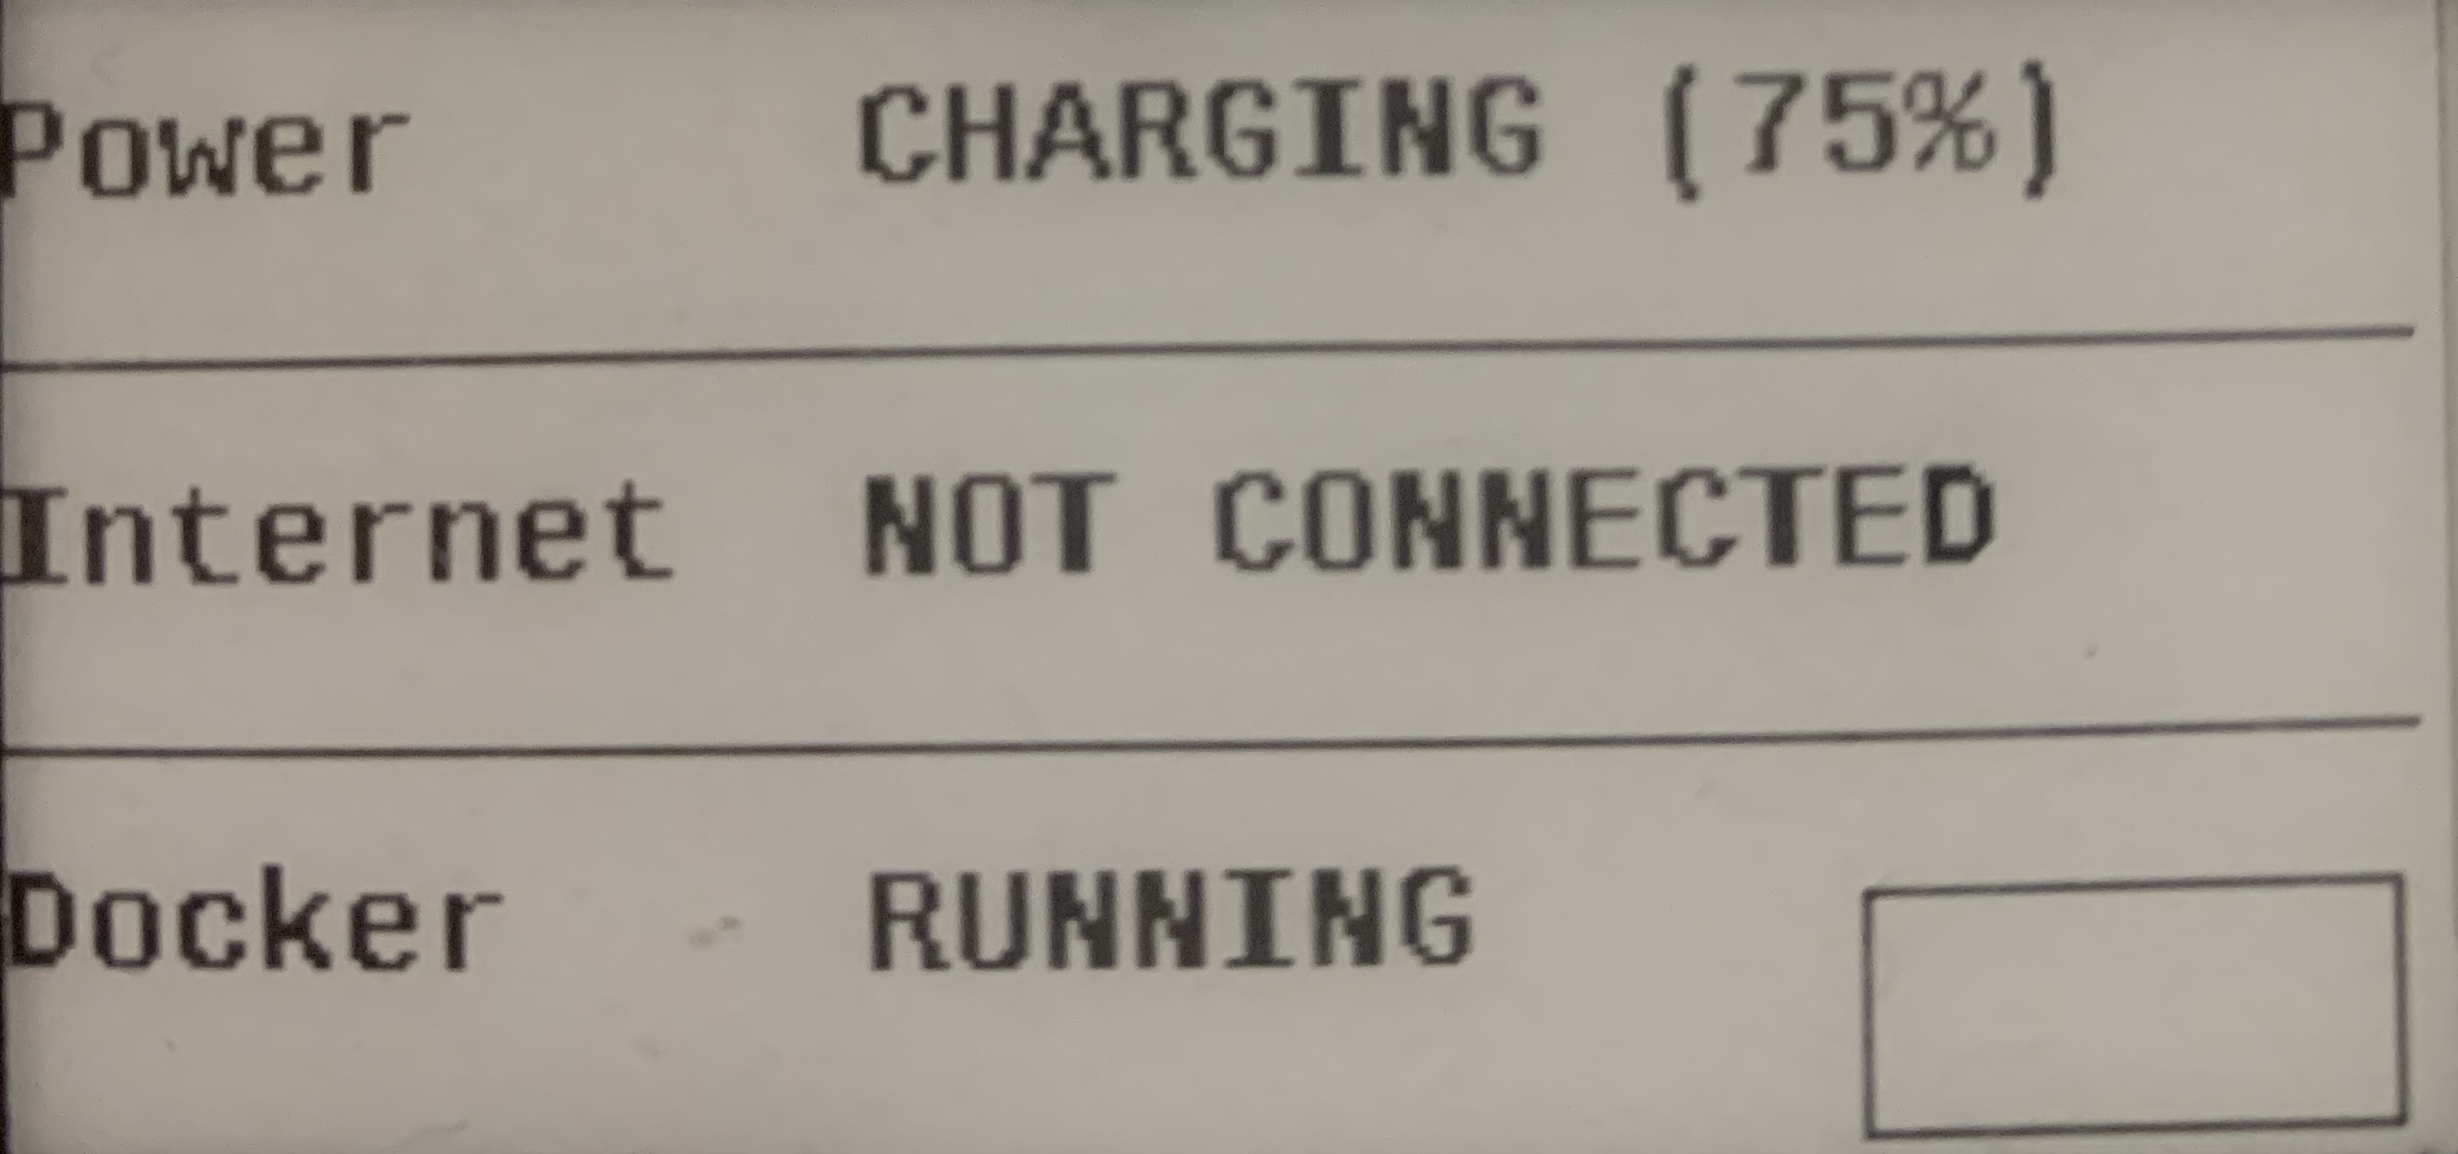
It displays :
POWER status (charging/charged/ on battery)
Internet connectivity status
Docker status (running/stopped)