Configure MAPIO OS
Basics configuration
Some basic setup can be done from the web server configuration.
Check that the web server is running using the epaper interface. The web server is automatically running at first boot and until it has been disabled.
With a navigator, go the address http://YOUR_LOCAL_IP
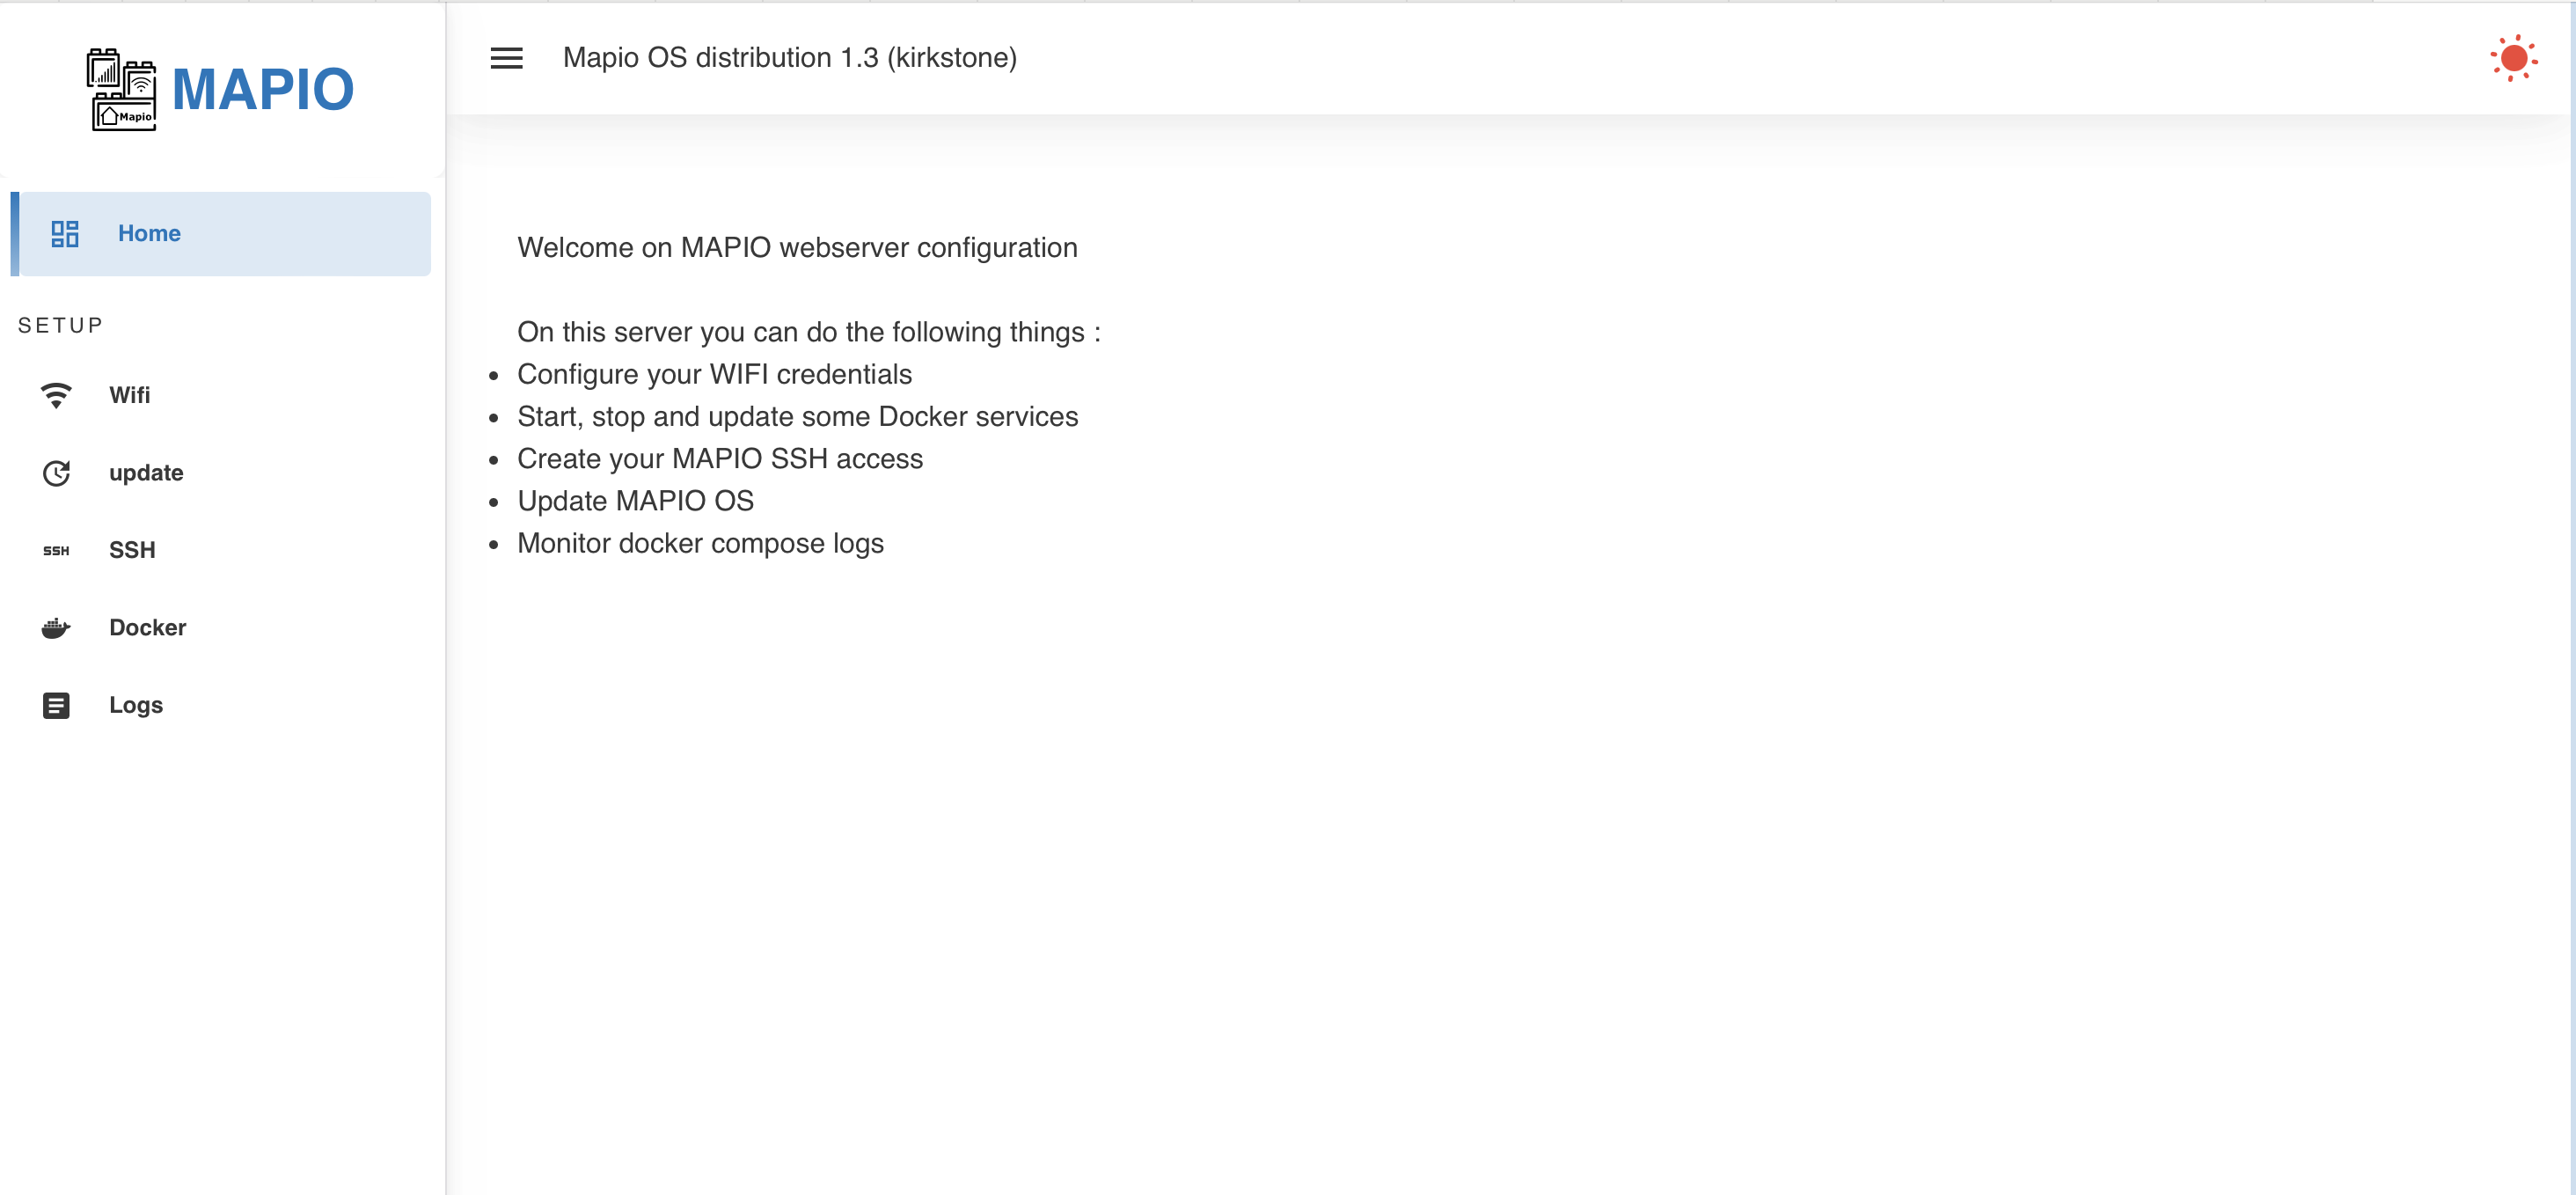
You will see the following homepage:
In SSH setup page you can add you ssh key, to access the MAPIO board with a console.
Advanced configurations
When you have added you own SSH key using the web server you can access to console with SSH
$ ssh root@YOUR_LOCAL_IP
In /home/root directory with you find some directories for each Docker compose file example. You can modify these docker compose files for your need.
Warning
/home/root is erased when you update the OS with a new bundle. If you want to keep your files use the persistent partition mounted on /usr/local/
Configure your Home assistant with MAPIO plugin
MAPIO OS contains a plugin that exposes some hardware to Home Assistant. It uses the integrated MQTT broker to communicate with your HA instance. This plugin is started by the service mapio-gpio-ha.service. To enable it on your HA instance you juste need to add the MQTT integration and enable it with default configuration:
Address: localhost
Port: 1883
NO password
After the MAPIO hardware will be automatically discovered:
RELAY1
LED_G
LED_B
LED_B
The UPS level
The linky measures (optionnal see the following section)
Use the linky feature
MAPIO OS can read the Linky TIC port data and send it to HA using the MQTT broker. This feature uses a docker service teleinfo2mqtt.
$ docker compose -f /home/root/mapio/docker-compose.yml up -d teleinfo2mqtt
Configure your reverse proxy with Caddy
Caddy is a easy to set up reverse proxy : https://caddyserver.com/docs/quick-starts/reverse-proxy In this example we will explain how to set up your own reverse proxy on Mapio. The the reverse proxy allows to run several services on the Mapio behind a server that manages the redirections and HTTPS certificates.
From the file /home/root/mapio/docker-compose.yml we see that the Caddyfile configuration is located here /usr/local/caddy/Caddyfile We consider that you have already do the following setup:
Have a public domain name or address (YOUR_PUBLIC_DOMAIN)
Have setup your internet box to redirect the 443 to your MAPIO
The following exposes your local Home Assistant instance throw the Caddy reverse proxy. Edit /usr/local/caddy/Caddyfile with theses content
YOUR_PUBLIC_DOMAIN {
    reverse_proxy host.docker.internal:8123
}
Add the Caddy dependency to the Home Assistant section in /home/root/mapio/docker-compose.yml file :
depends_on:
  - zigbee2mqtt
  - caddy
Restart the Home Assistant service:
$ docker compose -f /home/root/mapio/docker-compose.yml up -d homeassistant
You can now access to your Home Assistant with a web browser https://YOUR_PUBLIC_DOMAIN
You can add other services (if the service can run on a subdomain). Now Home Assistant can not be configured on a subdomain.
For example the following Caddyfile exposes both an Home Assistant (port 8123) and a Nextcloud (8092)
YOUR_PUBLIC_DOMAIN {
    reverse_proxy host.docker.internal:8123
}

ncloud.YOUR_PUBLIC_DOMAIN {
    redir /.well-known/carddav /remote.php/dav 301
    redir /.well-known/caldav /remote.php/dav 301
    header Strict-Transport-Security max-age=31536000;
    reverse_proxy host.docker.internal:8092
}
You can access to:
Home Assistant : https://YOUR_PUBLIC_DOMAIN
Nextcloud : https://ncloud.YOUR_PUBLIC_DOMAIN
Enabe Matter over Thread
Matter is a new smart home protocol that will be supported by the MAPIO OS. To use mattter over thread you need to have a RCP module (see NRF RCP module).
Then you need somme configuration in the /home/root/mapio/docker-compose.yml file:
otbr: update DEVICE and devices according to the RF slot used by the RCP module
otbr: BACKBONE_IF is the interface used by the thread network (wlan0 or end0)
matter-server: primary-interface is the interface used by the thread network (wlan0 or end0)
After this configuration you can start the services:
$ docker compose -f /home/root/mapio/docker-compose.yml up -d matter-server
Then go to your Home Assistant instance and add the following integrations:
Configure the matter integration by adding an entry with default paramters (ws://localhost:5580/ws). Configure the open thread by adding the URL http://localhost:8081 Configure the thread integration by slecting your default OTBR (Open Thread Border Router) instance and select to use the identiants for iOS and Android.
You can now add you matter devices over thread from your companion app.